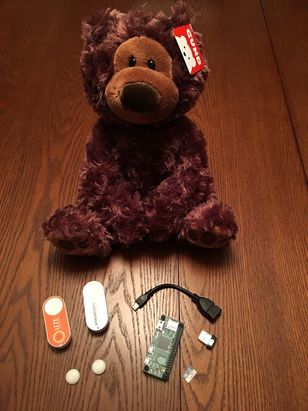
This project has been brewing for quite some time, even before my daughter came to be about 8 Month's ago. As I travel a lot for work, I've been thinking about how to use some of the technology thats out there to let a baby or toddler communicate with their parent's while away and send them a message or a notice that they are thinking about them. Maybe even just a reminder that they are playing with a toy that the parent has given them. I know there are some other things out there on the market or proposed products, but here is my spin on an IOT Teddy Bear. These use the $5 Amazon Dash buttons to make calls to the Maker channel on the IFTTT.com website which thens sends a text to your phone indicating that the child is playing with the Teddy Bear. You'll also need a Raspberry Pi to monitor the button pushes.
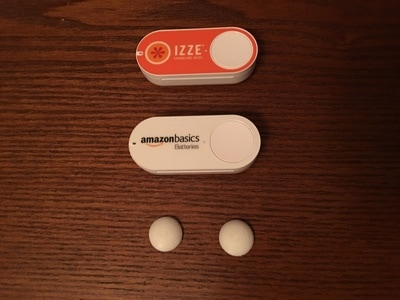
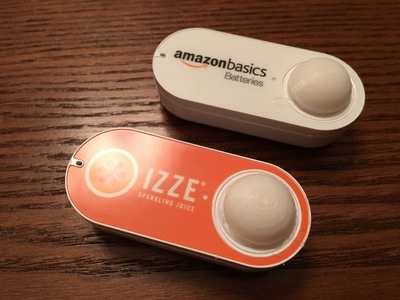
By following the instructions over @ BruhAutomation.com, you'll be able to set up the Raspberry Pi to listen for activity on your WiFi network and whenever the the buttons are pressed. I've also designed a small part to attach to the buttons so they are easier to press through the bears paws. It helps to score the top of the button with an exacto knife so the glue 3D printed parts stick to the dash button.
Materials List:
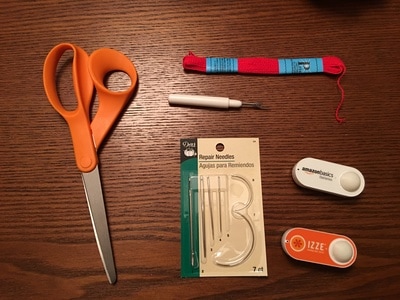
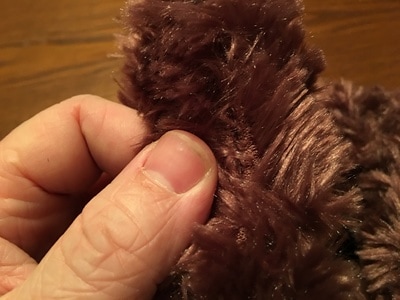
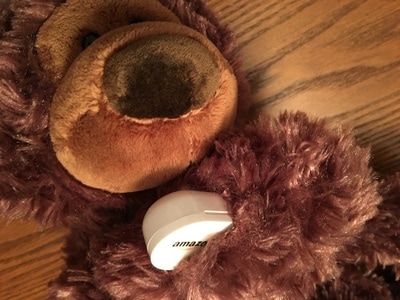
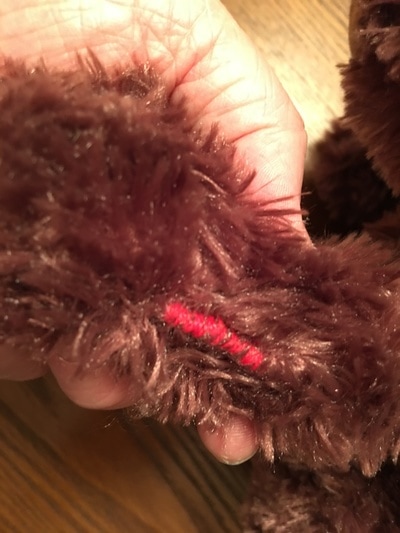
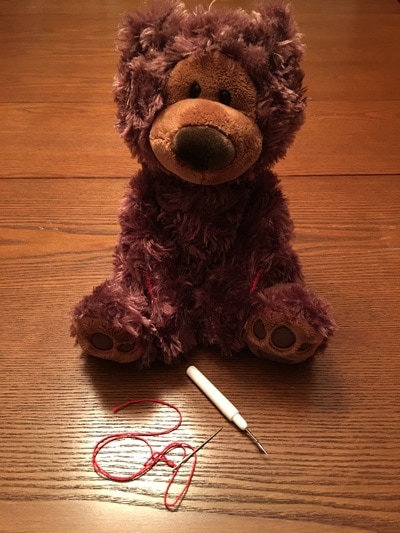
This project assumes you are somewhat familiar with setting up a raspberry pi and connecting to the Pi via SSH. There are plenty of great tutorials out there if you google running a Raspberry Pi "headless" (or without a keyboard and monitor). Once you've got the buttons working and talking to IFTTT.com, it's time to perform the surgery on your Teddy. Grab your seam ripper and find a good spot on the arm and cut a few stitches out. Insert the Button so it's face down and then sew it back up and repeat on the other arm.
The big benefit and reason for using the Amazon Dash buttons is that their circuitry is such that they use such a tiny amount of power and only really turn on and connect once the buttons pressed. Theoretically they could last a few years without having to change batteries. They are also inexpensive and easy to setup using the Amazon App. The result looks like the image below when it shows up in iMessage or on my phone.
By following the instructions over @ BruhAutomation.com, you'll be able to set up the Raspberry Pi to listen for activity on your WiFi network and whenever the the buttons are pressed. I've also designed a small part to attach to the buttons so they are easier to press through the bears paws. It helps to score the top of the button with an exacto knife so the glue 3D printed parts stick to the dash button.
Materials List:
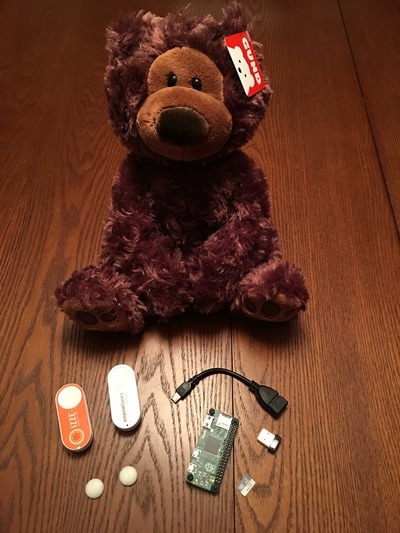
- Teddy Bear
- 2 Amazon Dash Buttons (doesn't matter which ones)
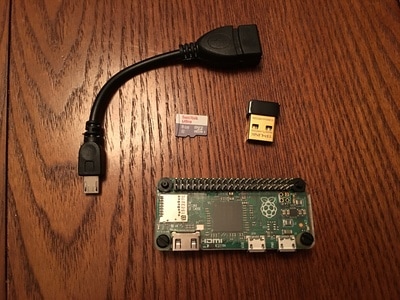
- Raspberry Pi Zero
- MicroSD Card with Latest Raspian OS Installed
- WiFi Adapter for Pi Zero & OTG USB Adapter
- 3D Printed Button Parts
This project assumes you are somewhat familiar with setting up a raspberry pi and connecting to the Pi via SSH. There are plenty of great tutorials out there if you google running a Raspberry Pi "headless" (or without a keyboard and monitor). Once you've got the buttons working and talking to IFTTT.com, it's time to perform the surgery on your Teddy. Grab your seam ripper and find a good spot on the arm and cut a few stitches out. Insert the Button so it's face down and then sew it back up and repeat on the other arm.
The big benefit and reason for using the Amazon Dash buttons is that their circuitry is such that they use such a tiny amount of power and only really turn on and connect once the buttons pressed. Theoretically they could last a few years without having to change batteries. They are also inexpensive and easy to setup using the Amazon App. The result looks like the image below when it shows up in iMessage or on my phone.


 RSS Feed
